Let’s face it. You are a busy person or you want to try your luck at painting that house wall today! You wouldn’t be reading this article otherwise, would you? Assuming you have never touched the paintbrush before, this article is exactly for you.
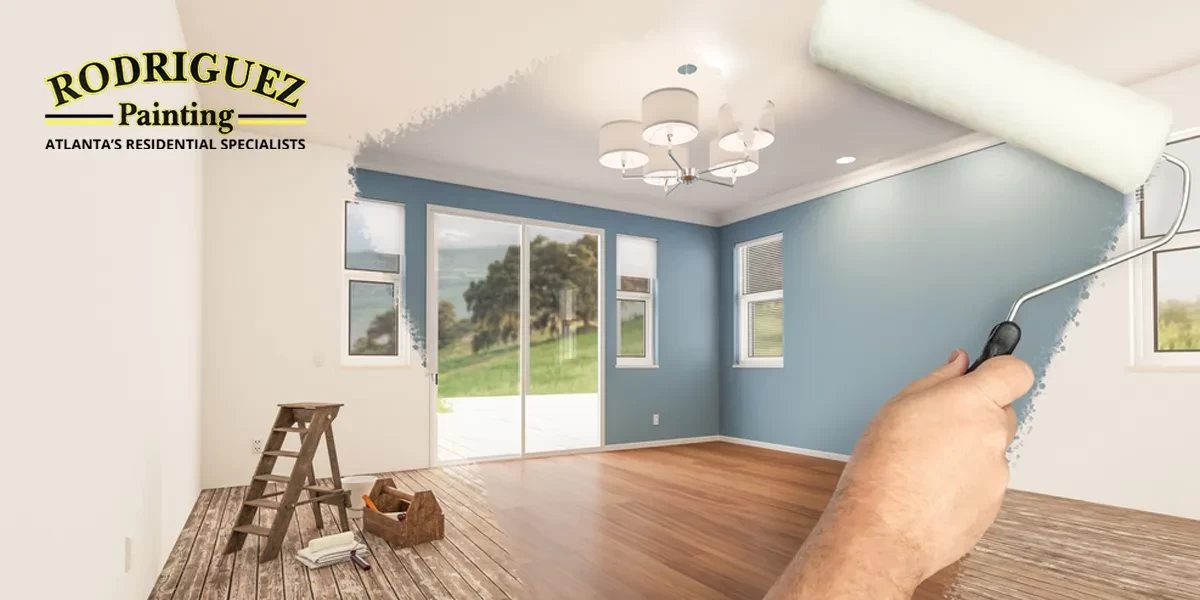
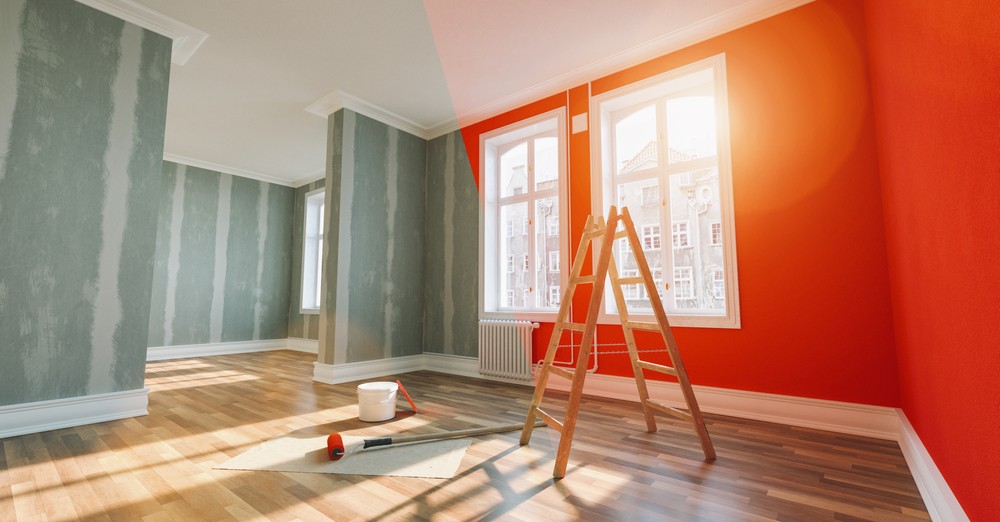
Painting your walls can be a rewarding DIY project that not only enhances the aesthetics of your home but also saves you money compared to hiring professionals. To achieve professional-looking results, it's crucial to follow proper painting techniques and use the right tools. In this comprehensive guide, we'll take you through the steps to paint your walls like a pro. So, if you are ready to transform your living space with a fresh coat of paint, let’s not waste your time and get started.
Cleaning and Preparing Your Walls
Step 1: Clear the Walls
Before you start painting, it's essential to prepare the wall surface properly. Begin by using a broom to clear out dust and cobwebs in the corners of the ceiling. Vacuum the baseboards and window sills to remove any dirt and debris. Then, run a damp cloth over these areas to ensure they are clean.
Step 2: Wash the Walls
To remove any remaining dust, dirt, or grease, clean the walls with a large cellulose sponge and a solution of water mixed with a few drops of mild dishwashing liquid. Afterward, wipe down the walls with a damp cloth to eliminate any soap residue.
Step 3: Protect the Trim
Use blue painter's tape (avoid masking tape) to protect areas where you don't want the paint to touch, such as trim, molding, doorknobs, window frames, and door frames. Make sure the tape covers the parts of the trim that may come in contact with the roller or paintbrush during painting.
Applying Primer
Step 4: Prepare the Primer
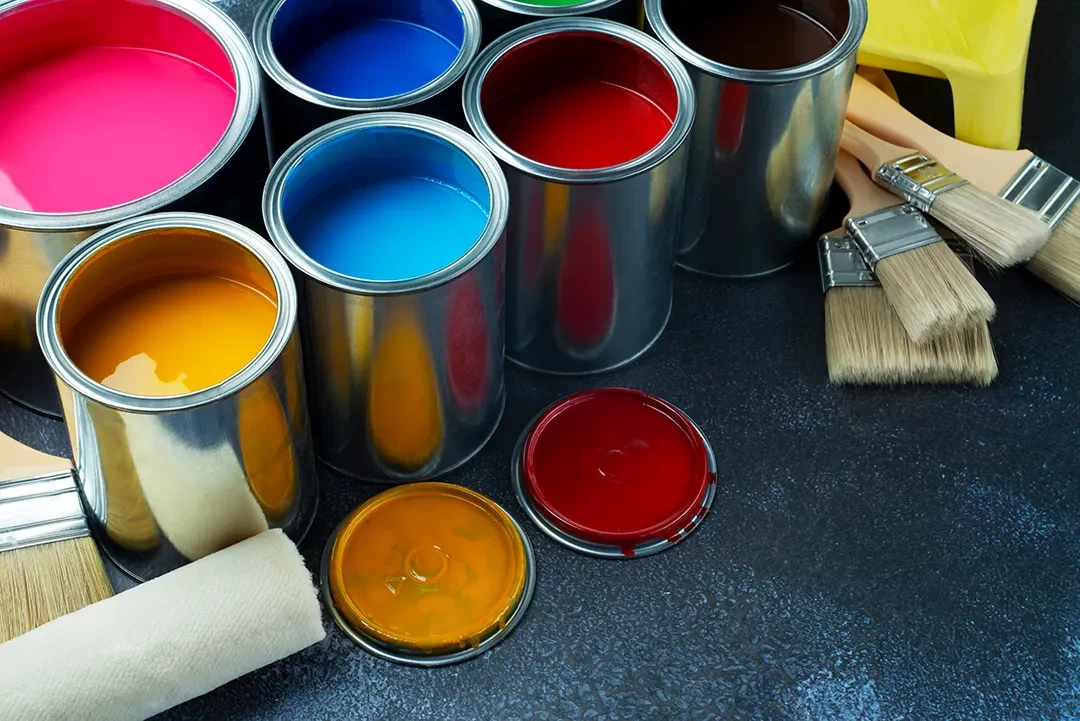
If you plan to use tarps to protect your floor, lay them out before proceeding. Line the paint tray with a plastic liner or tin foil to simplify cleanup later. Pour enough primer into the tray to fill the well toward the bottom without covering the angled portion where the ridges are.
Step 5: Brush the Corners
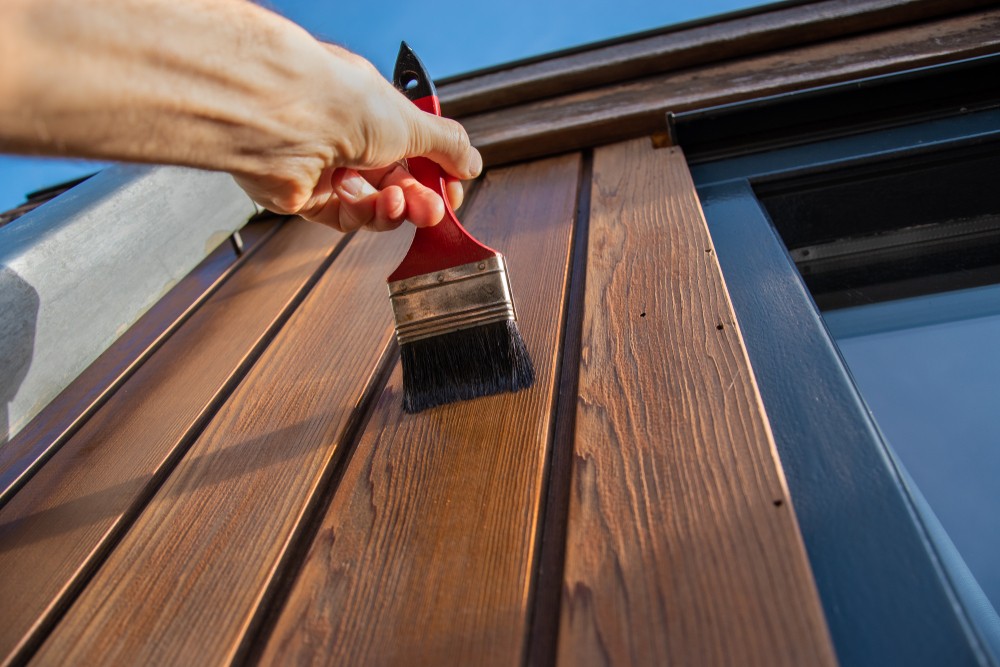
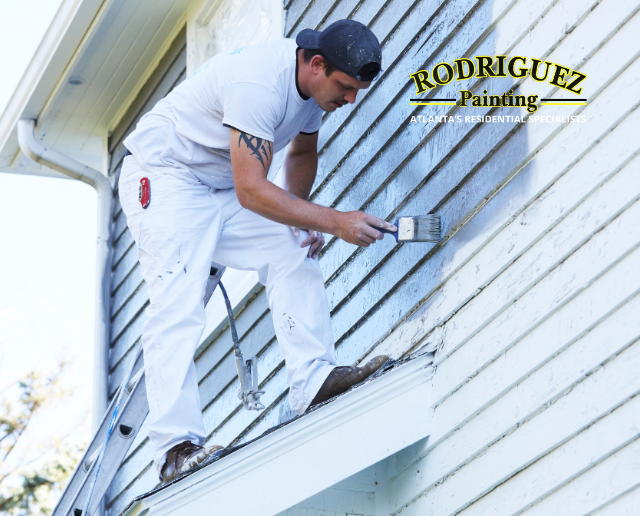
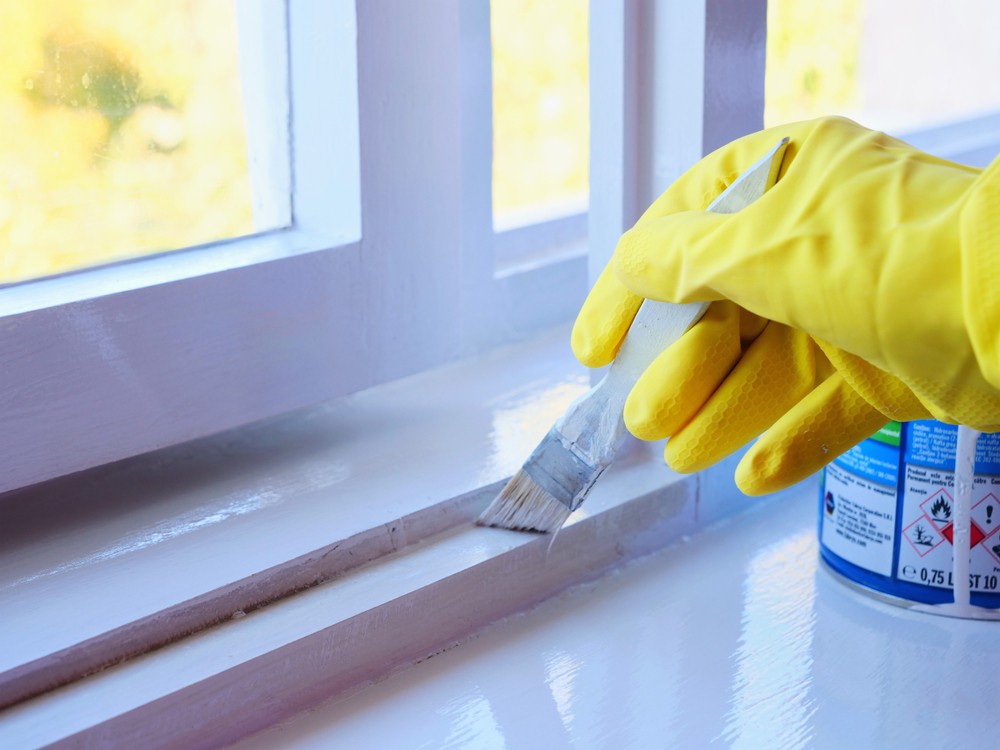
Start by painting the corners—the areas that the roller can't reach. Use a 2-inch angled paintbrush and dip it about a third of the way into the primer. Gently remove excess paint by tapping the brush inside the can. Apply the primer around the trim and in the corners of the walls, extending 2 to 3 inches from windows, doors, and moldings.
Step 6: Roll the Primer Onto the Wall
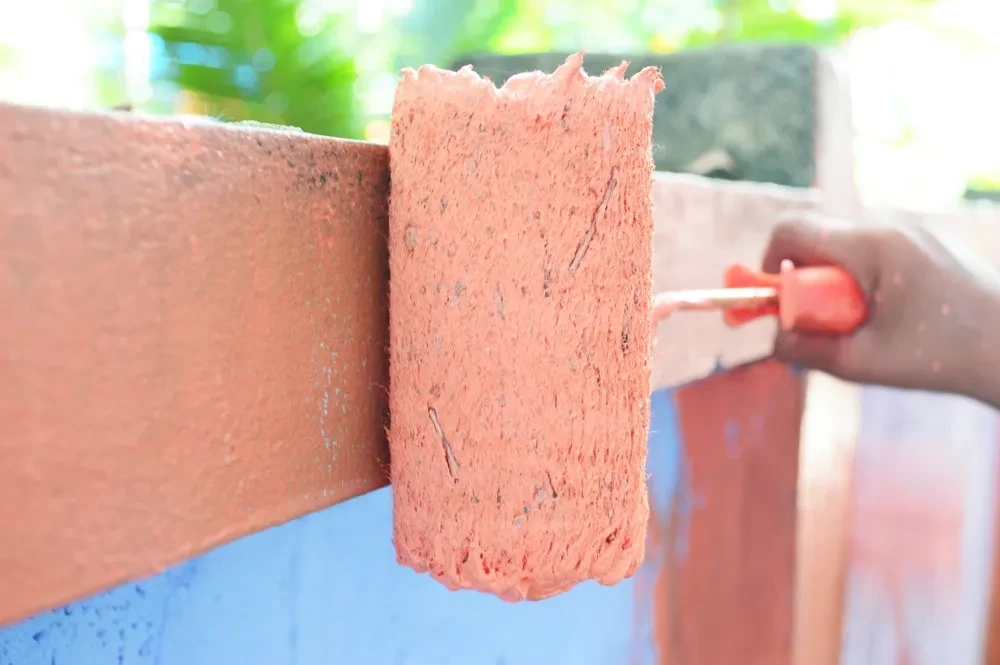
Dip your paint roller into the primer, rolling it back and forth across the tray's ridges to remove any excess and prevent drips. Ensure the roller is evenly coated. Begin by rolling the primer up and down a section of the wall, applying primer until the entire section is covered. Continue this process until the entire wall is primed. Follow the drying instructions on the primer's label to ensure it's completely dry before moving on to painting.
Painting Your Walls
Step 7: Applying Paint
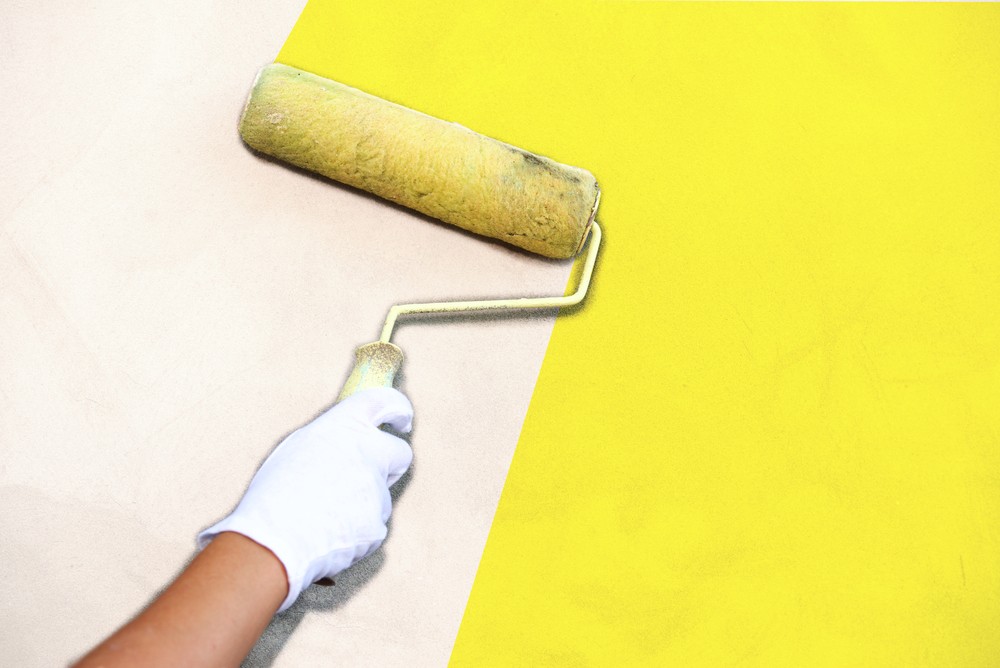
Fill a paint tray with your chosen paint color and dip your roller into it, removing excess paint. Roll the paint onto the wall in a 3-by-3-foot "W" shape. Without lifting the roller, work your way back across the "W" to fill in empty patches until that section of the wall is fully covered. Repeat this process, adding more paint to the roller as needed, until the entire wall is painted.
Step 8: Using an Extension Pole
Consider using an extension pole, a technique employed by professional painters, even on walls. This makes it easier to refill your paint roller and cover your wall more quickly. If you don’t know what that is, it is highly recommended that you see tutorial videos and get one as soon as possible.
Drying and Final Steps
Step 9: Know When Your Paint Is Dry
Different types of paint dry at different rates. A latex-based paint typically feels dry to the touch in about an hour and can accept a second coat in four hours. In contrast, oil-based paint takes six hours to feel dry, and you should wait a day before applying a second coat.
Step 10: Removing Painter's Tape
Remove the painter's tape while the paint is still wet, ideally about an hour after you've finished painting. This helps prevent accidentally removing any dried paint along with the tape. Leaving the painter's tape on for too long is a common painting mistake to avoid.
By following these step-by-step instructions, you can achieve professional-quality results when painting your walls. Remember that proper preparation, the right tools, and patience are key to success. Transform your living space with a fresh coat of paint and enjoy the new, vibrant look of your home!
When to Get Professionals
There are some instances where you cannot rely on your newbie painting skills. Some situations demand a professional hand and let’s face it, you are not reading this section because you are a professional yourself. It’s ok! That DIY wall paint can always wait. What’s recommended right now is to get a good professional painter who can show you the ropes.
-
If your walls have intricate textures or designs, such as stucco, wallpaper, or decorative molding, professionals have the expertise to handle these surfaces effectively. They can ensure a flawless finish without damaging the intricate details.
2. For extensive painting projects involving multiple rooms or large areas, professionals can save you significant time and effort. They have the manpower and resources to complete the job efficiently, reducing downtime in your home.
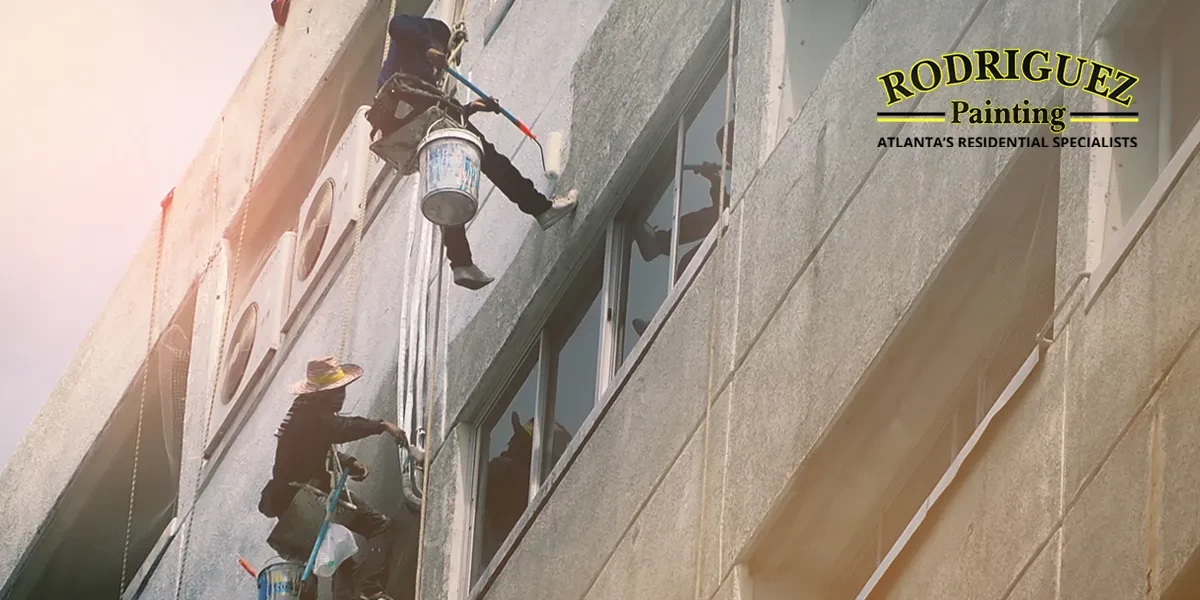
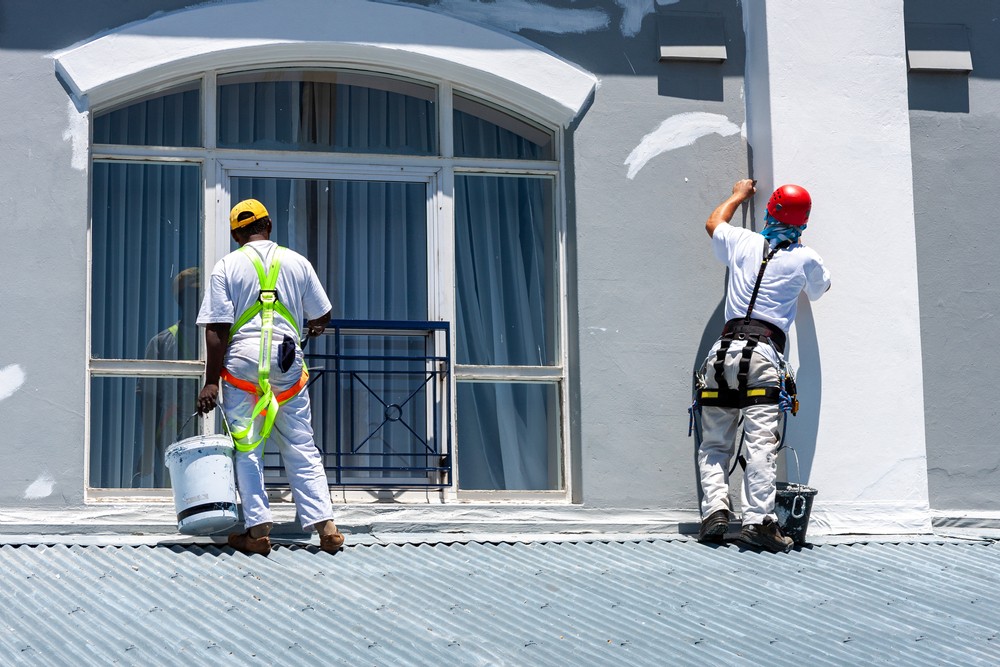
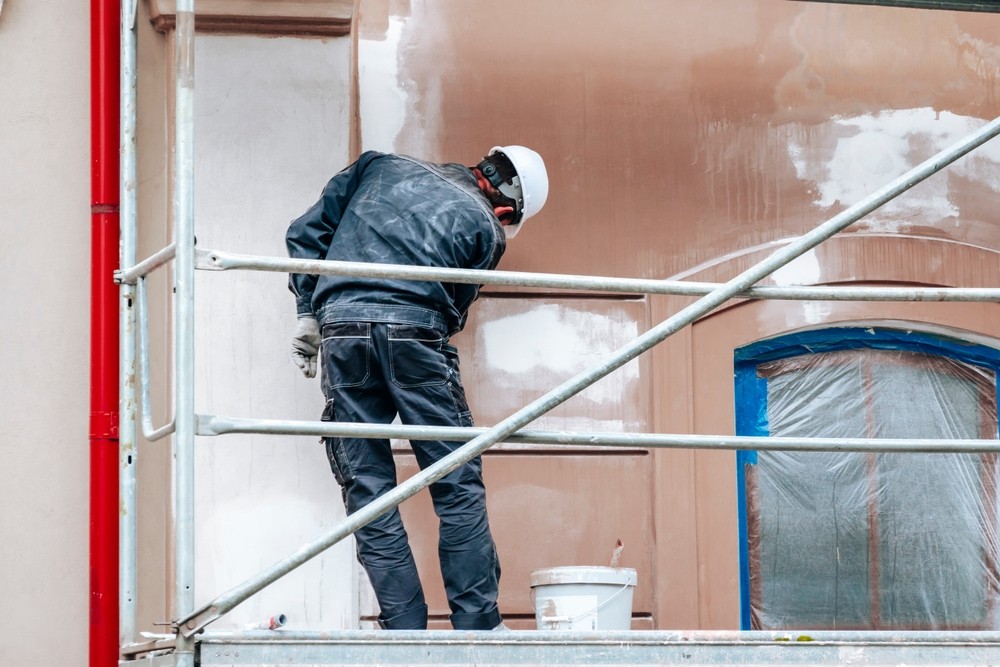
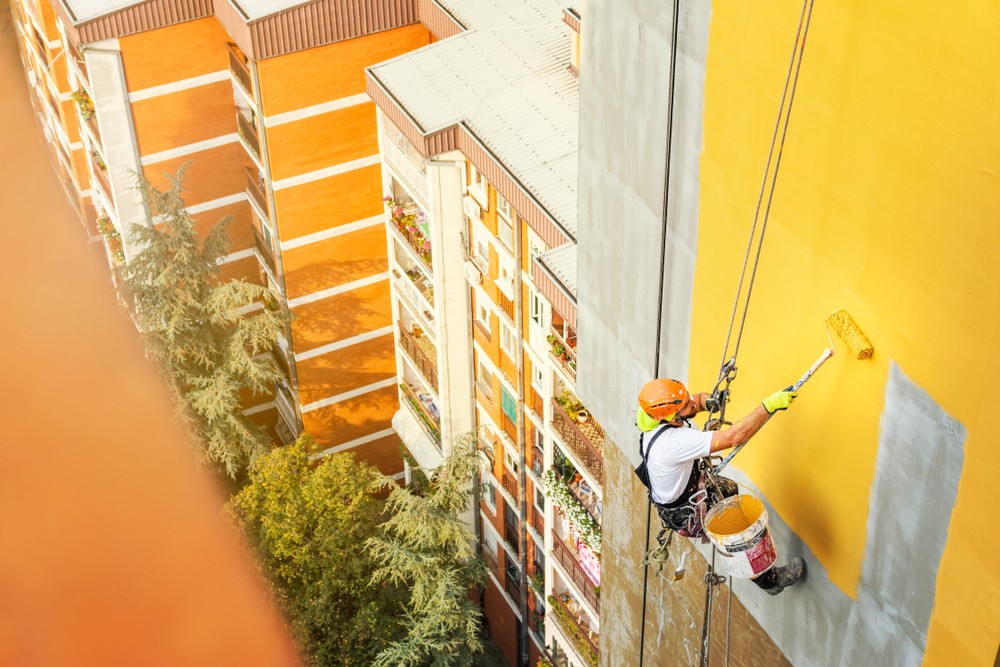
3. Painting the exterior of your home involves unique challenges, including working at heights and dealing with weather conditions. Professional painters have the necessary equipment and experience to tackle exterior projects safely and produce long-lasting results.
4. If you have a tight schedule and need the project completed quickly, professionals can meet deadlines without compromising quality. They are accustomed to working efficiently and can ensure your painting project stays on track.
5. When you desire specialty finishes, such as faux painting, metallic accents, or intricate patterns, professional painters can execute these techniques with precision. Achieving these effects may be challenging for inexperienced individuals.
6. Painting may involve exposure to fumes and chemicals. If you have health concerns or sensitivities, professionals can handle the job while taking appropriate safety precautions.
7. Professional painters have a keen eye for detail and take pride in their work. They can provide a level of quality and craftsmanship that may be challenging to achieve on your own.
8. Reputable painting professionals often offer warranties on their work. This means that if any issues arise after the job is completed, they will address them. Additionally, professional painters are typically insured, providing you with peace of mind in case of accidents or damage during the project.
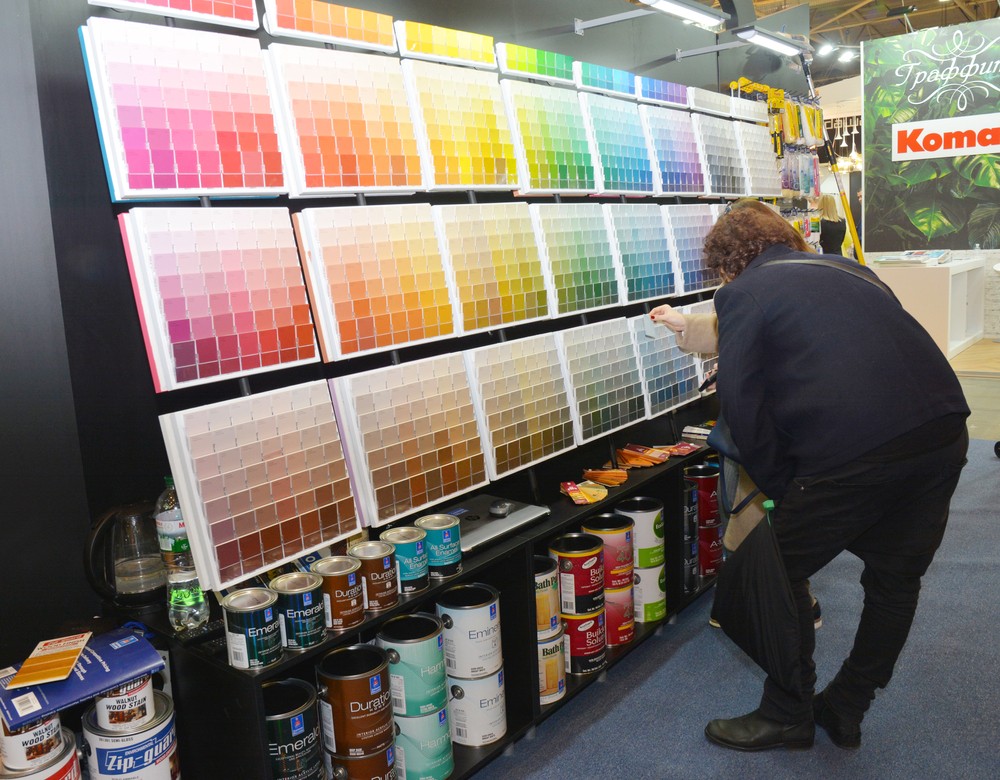
9. If you're uncertain about color choices or need guidance on color schemes that suit your space, professional painters often provide color consultation services to ensure your project turns out visually appealing.


